REVIEW · GLASGOW
Glasgow: Stirling Castle & Loch Lomond Private Luxury Day Tour
Book on Viator →Operated by Hopscotch Travel · Bookable on Viator
Two castles, one long day, lots of history. This private luxury tour packs Stirling Castle’s Mary, Queen of Scots story into a comfort-first day trip, then swaps armor and legends for loch views in Loch Lomond and the Trossachs National Park. I love how the day feels paced for people who want real stops, not a rushed drive-by, and I also love the way costumed characters at Stirling Castle bring 16th-century life to the front of the room.
One thing to plan for: it’s a full 9-hour outing with no lunch included and Stirling Castle entry costing extra, so you’ll want to budget and bring snacks or plan a quick bite near your breaks.
In This Review
- Key highlights you’ll actually care about
- Private luxury from Glasgow: how the day stays comfortable
- Stirling Castle’s Mary Stewart moment: more than a ticket
- Callander: a break that sets you up for the Highlands drive
- Trossachs Road and Dukes Pass: 30 minutes for photos and priorities
- Aberfoyle in Queen Elizabeth Forest Park: the calm middle hour
- Loch Lomond and The Trossachs National Park: where the views do the talking
- Balmaha and the Tom Weir statue: your lochside payoff
- Price and value: what $530.99 buys you in real terms
- Who this tour suits best
- Should you book the Glasgow to Stirling and Loch Lomond private day tour?
- FAQ
- How long is the Stirling Castle & Loch Lomond private luxury day tour?
- What time does the tour start?
- Is pickup included?
- Is lunch included?
- Are tickets to Stirling Castle included in the price?
- What’s included during the tour?
- What happens if weather is poor?
- Is the tour private?
Key highlights you’ll actually care about
- Private transportation from Glasgow with an air-conditioned vehicle and WiFi on board
- Costumed, in-castle storytelling tied to Mary Stewart’s early life at Stirling Castle
- Gateway-to-the-Highlands time in Callander, plus an easy walk along the River Teith
- Dukes Pass photo opportunity on a classic Trossachs road segment
- Loch Lomond viewpoints at Balmaha, including the Tom Weir statue and a coffee stop
Private luxury from Glasgow: how the day stays comfortable
This is one of those Scotland day trips where comfort matters because the schedule is full. Your pickup runs from a Glasgow hotel or port, and you start at 9:00 am, so the day gets momentum quickly. Once you’re in the van, you’ve got WiFi on board, bottled water, and air conditioning—small things that make a big difference when you’re spending most of the day in transit.
The tour also runs as a true private setup. Only your group rides together, so you’re not fighting for time at viewpoints or getting bumped because someone else is late. In practice, that makes the stops feel calmer, especially at Stirling Castle where you’ll want enough room to take it all in.
I also like the human touch: the guide checks in and adjusts when weather or preferences shift. In the feedback about Hopscotch Travel, Michael is singled out for being punctual and responsive—quick to accommodate changes—while keeping everyone on track without turning it into a hard sell.
You can also read our reviews of more private tours in Glasgow
Stirling Castle’s Mary Stewart moment: more than a ticket
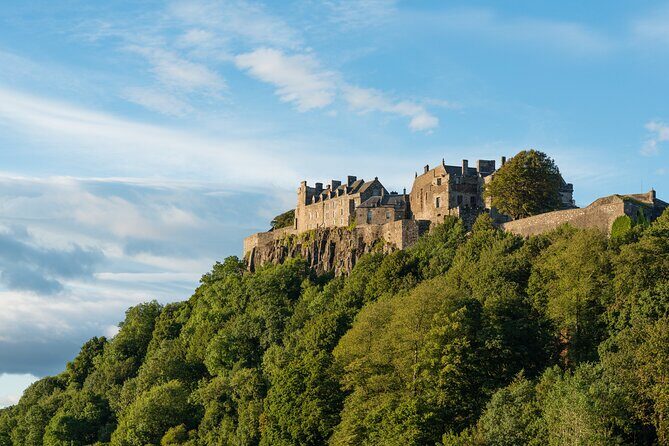
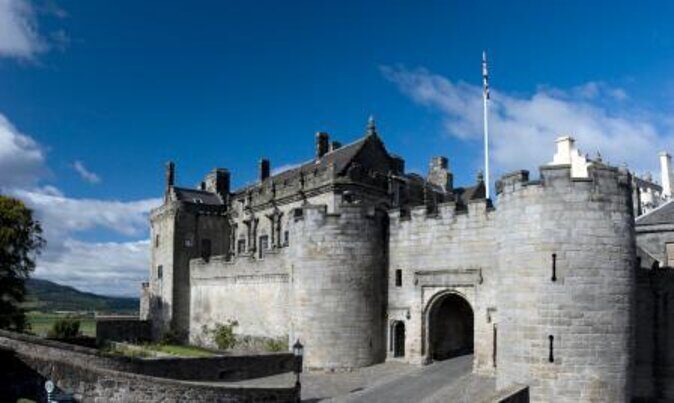
Stirling Castle is the kind of stop where you feel the weight of centuries fast. You’re driven right up to the gates, so you don’t waste time searching for parking or figuring out routes. Then, inside, you meet costumed characters who act like you’ve stepped into a 16th-century scene. If you like history that feels lived-in—clothes, rooms, and storylines—you’ll probably enjoy this more than a silent audio tour.
The focus here is Mary Stewart, whose life is tightly linked to Stirling Castle. She was crowned Queen of Scots when she was just nine months old, with the ceremony held in September 1543 in the Chapel Royal at Stirling Castle. The tour also highlights that this was the first time the Honours of Scotland were used. That detail matters because it connects the building to the national symbols of power, not just architecture.
You’ll have about two hours at Stirling Castle. That’s enough time to see the major areas, follow the story, and still take photos from spots with sweeping views over Stirling city. The one downside is cost: Stirling Castle admission isn’t included, so you’ll want to budget £18 per person ahead of time.
Practical tip: wear layers. Castle interiors can shift from cool stone to warmer rooms, and you’ll want to stay comfortable while you move between spaces.
Callander: a break that sets you up for the Highlands drive

After the castle, the tour pivots to charm and breathing room in Callander, known as the Gateway to the Highlands. This stop isn’t just for scenery—it’s for resetting your brain between “big historical sites” and “country roads.”
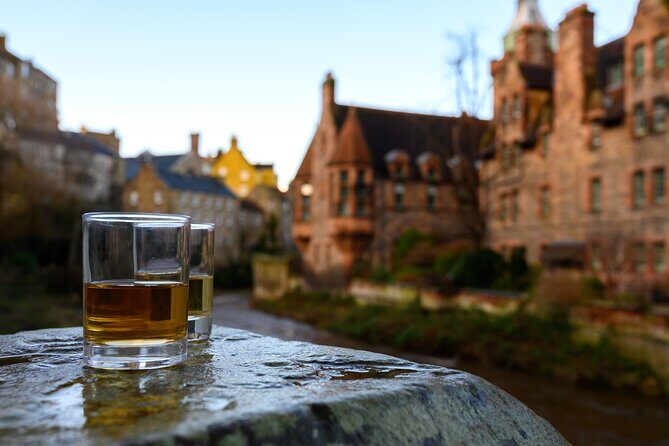
You get about one hour here, and it’s built for wandering at an easy pace. Callander has coffee shops and gift shops, plus you’ll find a whisky shop if that’s your thing. If you’re more into light walking than shopping, you can stroll along the River Teith, which runs along the edge of town. From there, you may catch views toward Ben Ledi and the Craggs behind Callander.
This part of the day is valuable because it gives you a buffer. The driving gets more scenic next, so having a relaxed town stop helps you enjoy the road instead of feeling like you’re just waiting to arrive somewhere else.
What to watch for: this is short. If you plan to buy a bottle or a few gifts, do it early in the hour so you don’t feel rushed later when your group is ready to move on.
Trossachs Road and Dukes Pass: 30 minutes for photos and priorities
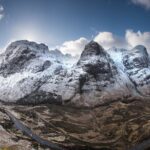
Then comes the scenic drive segment, where you get a classic slice of the Trossachs. Dukes Pass is the star here—winding hills, tight turns, and viewpoints that reward a quick camera stop. Your time is about 30 minutes, so think of it as “photo and breath” time rather than a full hike.
This is a good moment to decide what kind of traveler you are today:
- If you love photos, pick your spots quickly and keep your group moving.
- If you want calmer moments, just step out, look around, and let the guide handle the timing.
Because it’s a private group, you won’t have to fight your way to a view or worry that you’ll get left behind if you’re slower. Still, use the time well. The scenery is the point, but your later stops also matter.
Aberfoyle in Queen Elizabeth Forest Park: the calm middle hour
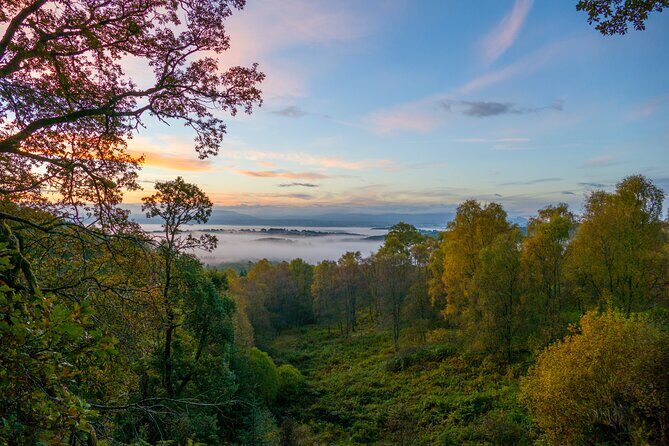
Aberfoyle is a charming village by the River Forth, and it sits inside Queen Elizabeth Forest Park. You get about one hour, which is perfect for a walk, a quick photo, or simply enjoying the rhythm of a village that’s not trying to entertain you every ten minutes.
This stop works as a “middle course” break. After Stirling and then the high-speed feeling of scenic driving, Aberfoyle lets you settle in. You can look for riverside views, stretch your legs, and take a breather before Loch Lomond takes over the rest of the day.
The main consideration is what you’ll want from the hour. Since the schedule moves on to Loch Lomond, you probably shouldn’t plan anything that requires long waits or long drives on your own. Keep it simple: short walk, quick refresh, and back into the flow.
A few more Glasgow tours and experiences worth a look

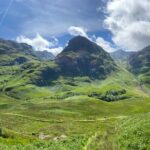
Loch Lomond and The Trossachs National Park: where the views do the talking
Now the day turns to big open-country views. The tour’s Loch Lomond and the Trossachs National Park stop gives you about one hour at the lochside. This is where the “wow factor” hits, and it’s not hard to see why.
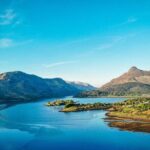
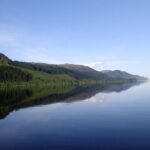
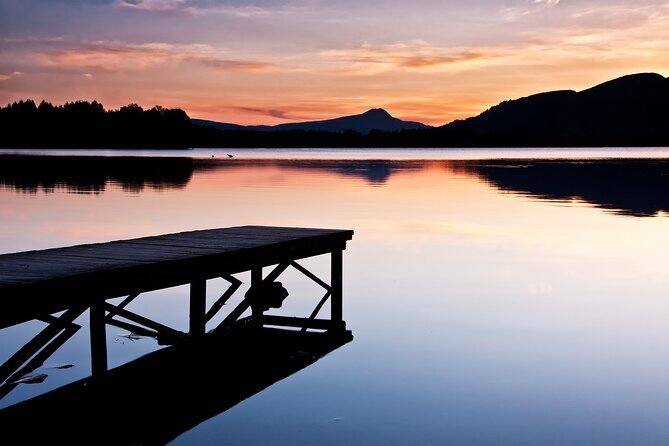
The bonnie banks of Loch Lomond are surrounded by towering mountains, with The Ben looking down over the loch. Even if you’ve seen photos before, standing there usually feels different. Water, weather, and light change fast, and the loch carries that classic Scottish feeling of drama—clouds can roll in, sun can break through, and the whole scene shifts while you’re standing still.
Because your stop is about an hour, you’ll get enough time to take photos and find a comfortable viewpoint without turning the day into a long hike. If you want maximum scenery with minimum effort, this is the right kind of stop.
One tip: this tour requires good weather, and that’s not just a warning on paper. If conditions are poor, your experience can be changed or refunded. So if your travel dates are flexible, that helps.
Balmaha and the Tom Weir statue: your lochside payoff
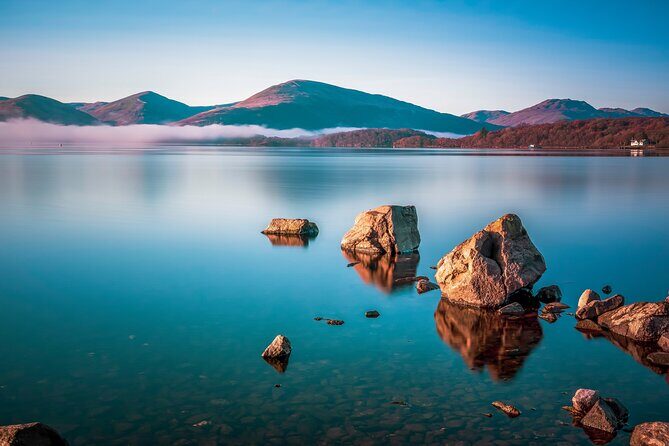
Balmaha is often where a Loch Lomond day makes sense. You get another hour here, and it’s one of the best places to marvel at the loch’s waters. The tour also points you toward the Tom Weir statue with his bobble hat—a fun detail that adds personality to an otherwise “look at the water” kind of stop.
Tom Weir is described here as a Scottish climber, TV presenter, and author, so it’s not just a random statue. It’s a quick cultural nod that gives you something to look for besides scenery.
Balmaha also has a fantastic coffee shop, which is a smart addition because lunch isn’t included on the tour. This is where you can grab something warm, refuel, and keep your energy steady for the ride back toward Glasgow.
If you’re photographing, come ready to move. People tend to cluster near obvious viewpoints, and wind can swing fast off the loch. Keep your camera secure and your layers on.
Price and value: what $530.99 buys you in real terms
At $530.99 per person, this tour isn’t a budget day trip. The value is in how it’s set up: private luxury transport, a guide who’s coordinating your whole day, and a schedule that avoids the typical “ring-and-ride” chaos.
You’re also paying for time. Instead of stitching together public transport and independent driving, you get pickup from Glasgow, a full day of guided stops, and a van that handles the long stretches. Add in WiFi, bottled water, and air conditioning, and the price starts to make more sense—especially if your group includes people who don’t want to rent a car.
Now the add-ons to note:
- Stirling Castle admission is extra at £18 per person
- Lunch isn’t included
That doesn’t make the tour overpriced; it just means you should treat it like a guided day with a couple of meals and entry fees you’ll cover yourself. If you budget for those upfront, the overall value feels more predictable.
Who this tour suits best
This is a strong fit if you want:
- A private day trip without the stress of planning driving routes
- Comfort and organization on a long day out of Glasgow
- A mix of history and nature, with short stops that still feel meaningful
- A guided experience that emphasizes storytelling at Stirling Castle
If you’re the type who loves quiet independent travel, you might find the pace a bit structured. If you prefer a guide to handle timing, tickets logistics you can’t control, and weather-dependent decisions, you’ll likely enjoy this.
Should you book the Glasgow to Stirling and Loch Lomond private day tour?
Book it if you want a smooth, comfortable day that combines Stirling Castle’s Mary Stewart story with Loch Lomond views, and you appreciate a guide who keeps things calm when weather or plans shift. The private setup, punctual pickup feel, and Michael’s track record for being attentive are the kind of practical wins that matter when you’re spending a full day away from home.
Skip or reconsider if you’re traveling ultra-budget and you don’t want to handle extra costs like Stirling Castle entry and lunch. Also consider flexibility: since the experience needs good weather, having backup dates helps.
In short: if you want Scotland highlights without logistical headaches, this is a very sensible way to do it.
FAQ
How long is the Stirling Castle & Loch Lomond private luxury day tour?
The tour is listed as about 9 hours.
What time does the tour start?
The start time is 9:00 am.
Is pickup included?
Yes. Pickup is offered from any Glasgow hotel or port.
Is lunch included?
No. Lunch isn’t included.
Are tickets to Stirling Castle included in the price?
No. Stirling Castle entrance is not included, and the fee listed is £18.00 per person.
What’s included during the tour?
Included features are WiFi on board, bottled water, private transportation, an air-conditioned vehicle, and an experienced kilt-wearing guide.
What happens if weather is poor?
This experience requires good weather. If it’s canceled due to poor weather, you’ll be offered a different date or a full refund.
Is the tour private?
Yes. It’s a private tour/activity with only your group participating.